Calendar & Bookings
Book, view, and manage all your salon appointments in one place
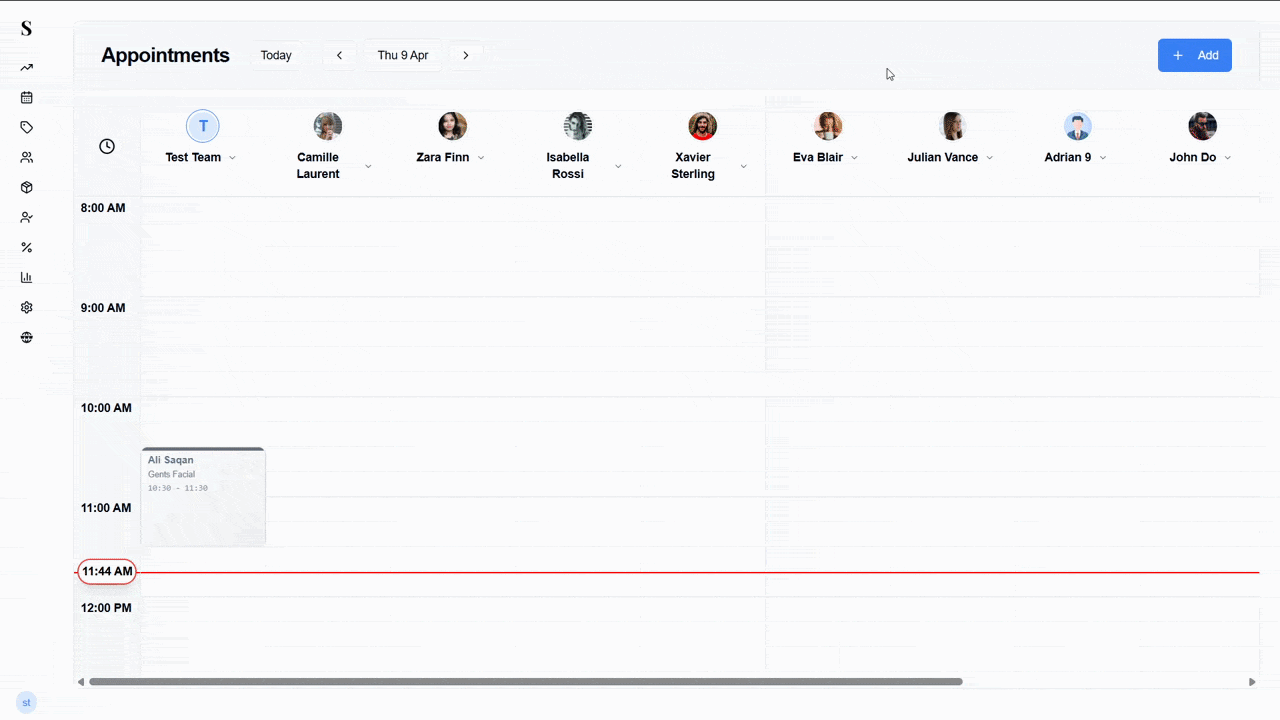
The Calendar is where all your appointments live. It shows your team's full schedule side by side — one column per staff member — so you can see everyone's day at a glance and book new appointments in seconds.
How the Calendar is laid out
When you open the Calendar you'll see:
- A column for each staff member — each person has their own lane with their profile photo and name at the top
- Time slots running down the page — the interval (15, 30, or 45 min) is set in Settings → Calendar
- A red line showing the current time — so you always know where you are in the day
- Appointment cards — each card shows the client name, service, and time range
- Navigation bar at the top — use Today, <, and > to move between days, or click the date to jump to a specific day
The + Add button in the top right corner is for selling products, memberships, or vouchers directly — it opens a cart where you select the items and a client. It is not for creating appointments. To book an appointment, click directly on an empty time slot in a staff column.
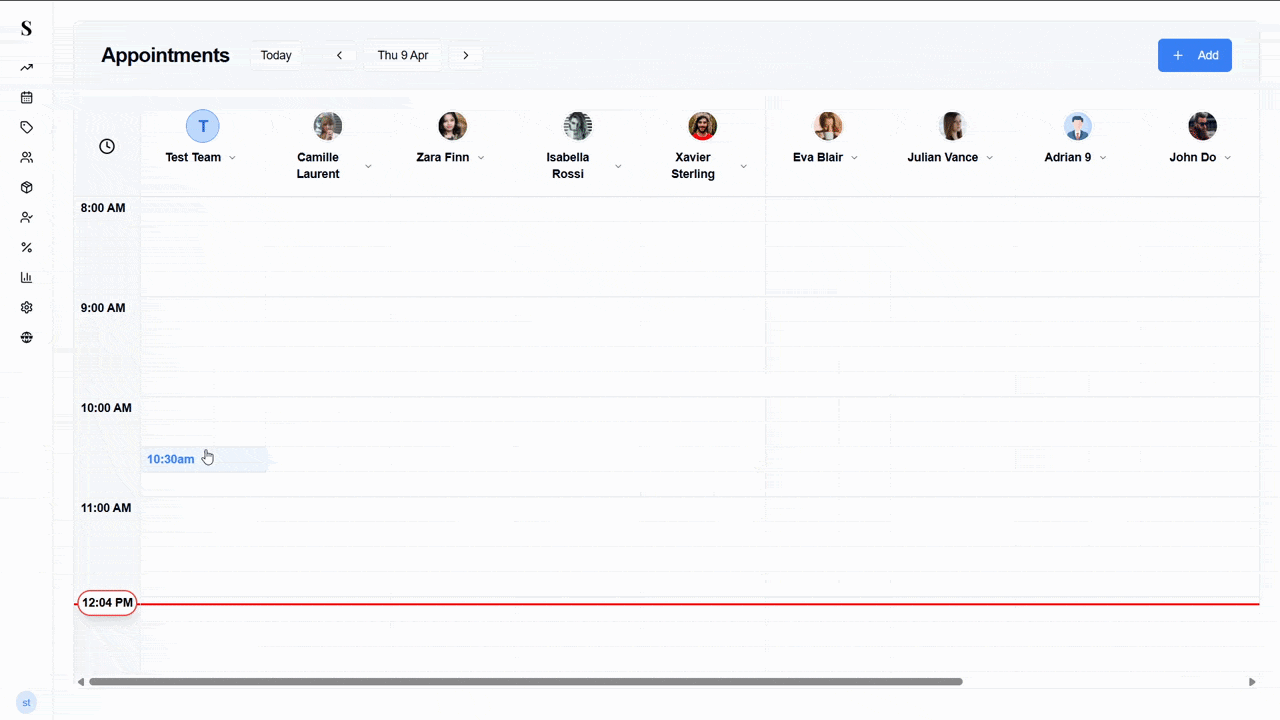
Booking a new appointment
To create an appointment, click on any empty time slot in a staff member's column. A booking panel will slide open on the right side of the screen.
Step 1 — Select a client
The left side of the panel shows your client list. You can:
- Search by name or phone number
- Select an existing client from the list
- Choose Walk-In Customer if the client isn't registered
- Click Add new client to create a new profile on the spot
You don't need to pre-register a client. Walk-In Customer works perfectly for first-time or unregistered visitors.
Once you select a client, their name, phone, and email will be confirmed on screen. You can click Change Client if you need to swap to someone else, or View [Client]'s Profile to open their full history.
Step 2 — Add services
On the right side of the panel, click + Add service. A service picker will open showing all your available services with their price and duration.
- Tick the checkbox next to any service you want to add
- You can select multiple services at once
- Click Done when you're finished
The selected services appear in the Appointment panel showing the time, duration, assigned team, and price. The total updates automatically at the bottom.
Step 3 — Save
Click Save. The appointment is created instantly and appears as a card on the calendar. A green "Appointment created successfully" notification will confirm it.
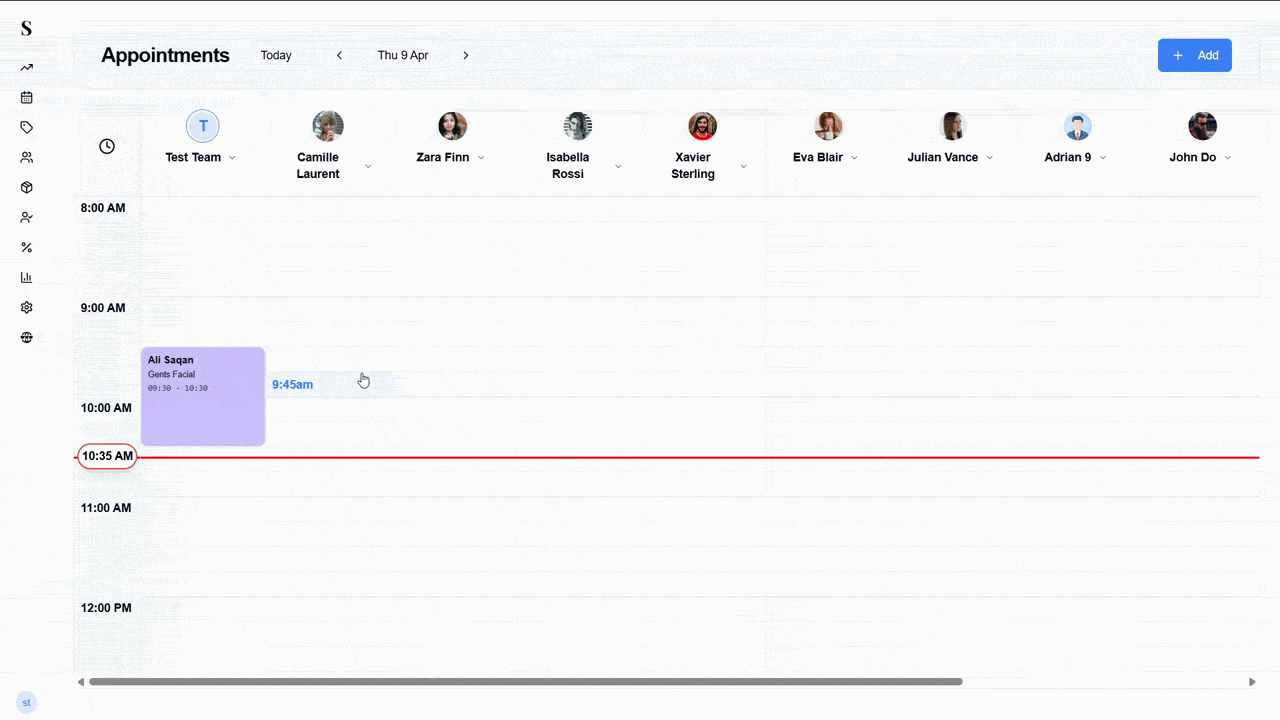
Appointment card hover
Hover over any appointment card on the calendar to see a quick summary popup showing:
- The time range (e.g., 14:30 – 15:30)
- The current status badge (e.g., Scheduled)
- The client's name and phone number
- The service name, team, duration, and price
Editing an appointment
Click on an existing appointment card to open the Edit Appointment panel. It works the same as the booking panel — you can change the client, add or remove services, or update the time or Status.
At the top of the edit panel you'll see status action buttons:
| Button | What it does |
|---|---|
| Arrived | Marks the client as checked in and present |
| Start | Marks the service as actively in progress |
| No Show | Records that the client didn't show up |
| Cancel | Cancels the appointment |
The status is reflected both on the appointment card and in the hover popup.
At the bottom of the panel you'll see two buttons:
- Save — saves any changes you made
- Checkout — moves the appointment to the payment screen to collect payment
Appointment statuses
| Status | What it means |
|---|---|
| Scheduled | The appointment is booked and upcoming |
| Arrived | The client has arrived at the salon |
| Start | The service is currently in progress |
| No Show | The client didn't show up |
| Cancelled | The appointment was cancelled |
Blocking time off
Need to mark a staff member as unavailable for a break, training, or any other reason? You can block out time without creating a real appointment.
Click on an empty time slot in a staff member's column and select Block Time.
Set the start time, end time, and an optional note so the team knows why the slot is blocked.
Click Save. The blocked slot will appear as a distinct card on the calendar.
Going to checkout from the calendar
Once a client's appointment is done, you can take payment directly from the calendar.
Click on the appointment card to open the Edit Appointment panel.
Click Checkout at the bottom of the panel.
The payment screen opens with the services already loaded. Follow the Checkout steps to apply discounts, add a tip, and collect payment.
Quick reference
| What do you want to do? | How? |
|---|---|
| See today's appointments | Open the Calendar — each person has their own column |
| Move to a different day | Press the < or > arrows, or click Today |
| Book someone in | Click an empty time slot in their column |
| Book a walk-in (no name) | Pick Walk-In Customer when asked for the client |
| Add more than one service | Tick all the services you want — they'll stack in the same slot |
| Mark someone as arrived | Open the appointment and tap Arrived, then Start |
| Cancel or mark no-show | Open the appointment and choose Cancel or No Show |
| Peek at an appointment quickly | Hover your mouse over it — a summary pops up |